
Guide To Using the Reports Section in TTR Pay Dashboard
We’ll show you how to navigate to the Reports section, generate a new transaction report, and download existing reports. The Reports section allows you to filter transactions by status, merchant, payment method, and date range, and export the data in Excel or PDF format. Follow the steps below to get started.
Locating the Reports Page
To access your Reports section:
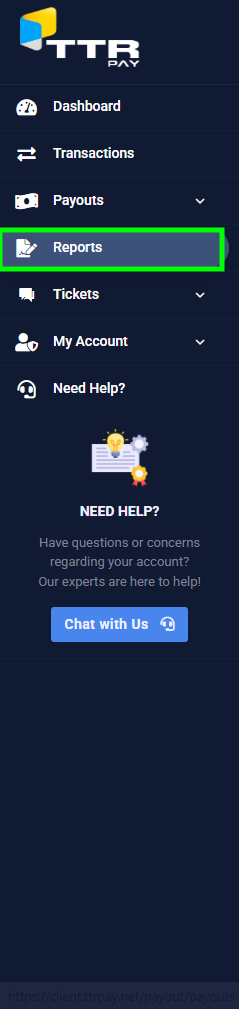
- Log in to your TTR Pay dashboard.
- On the left-side menu, click My Account to expand it.
- Click Reports (highlighted in green in the sidebar).
Reports Page Layout
When the Reports page opens, you will see two main areas: a filter panel at the top for creating a new report, and a table below listing any previously generated reports. Remember, this page shows only your own transaction reports associated with your merchant account. Each report in the list includes important details, organized in columns for easy reference:
-
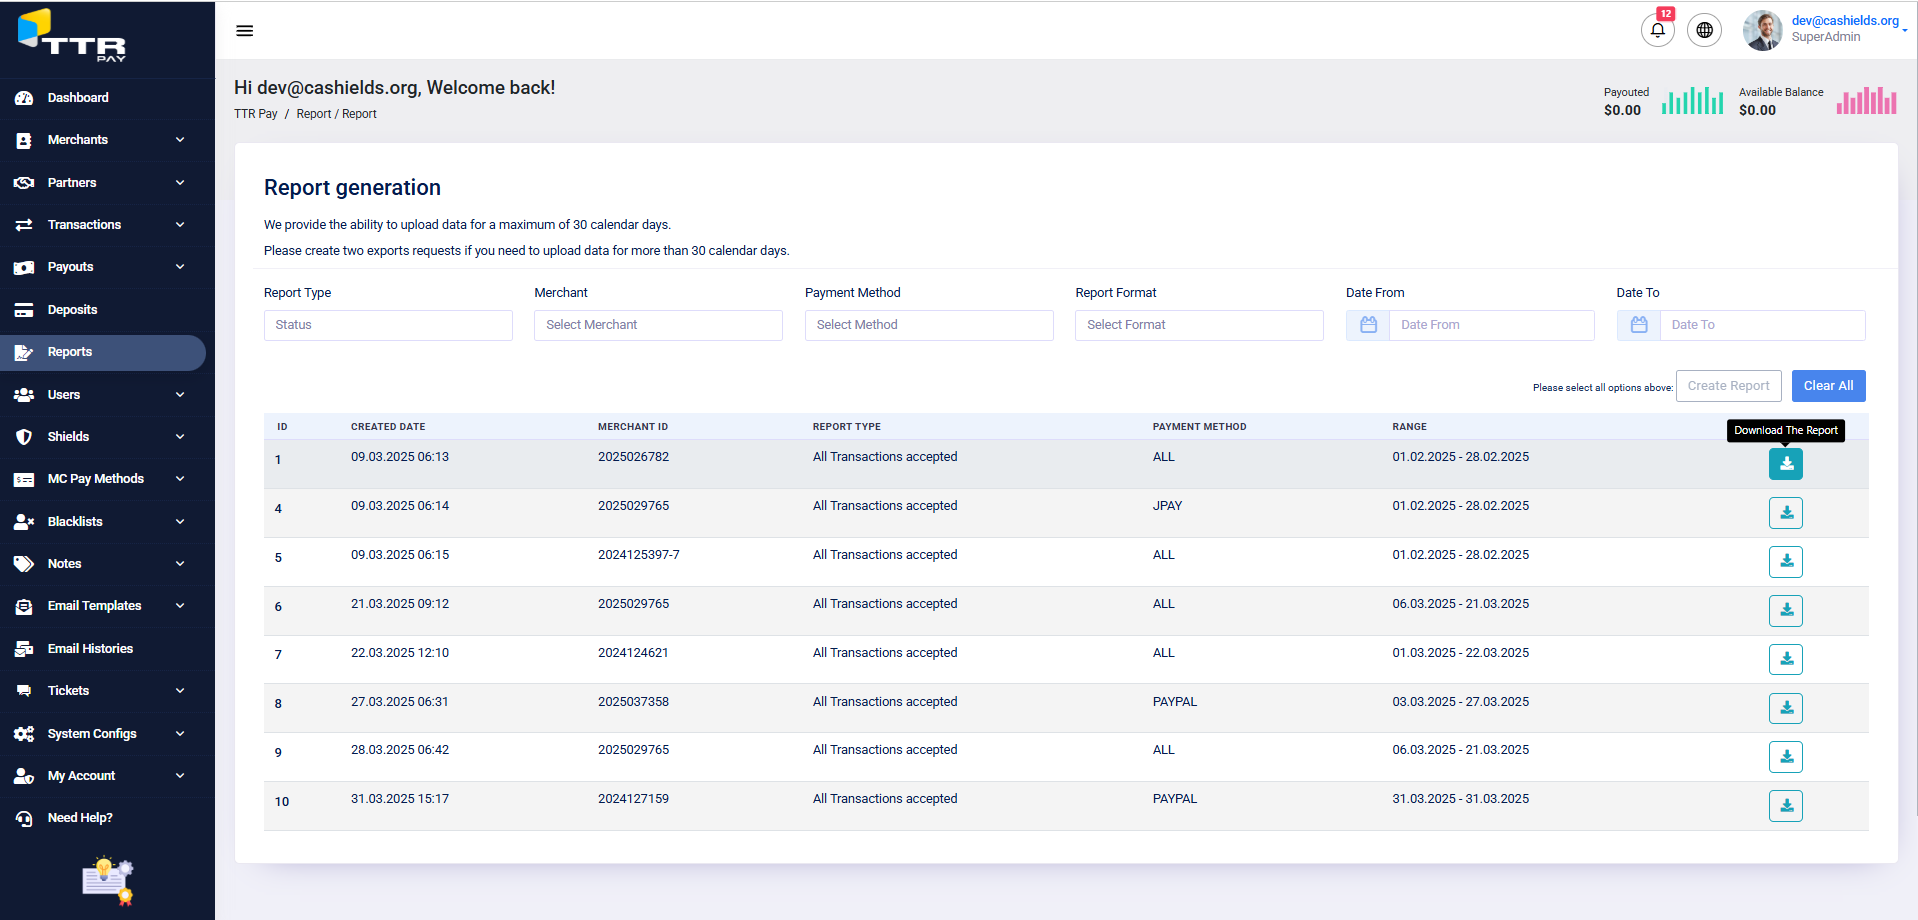
TTR Pay merchant reports section UI. - Created Date: The date and time when the report was created.
- Merchant ID: Your merchant account ID for which the report was generated. (Since you only have access to your own reports, this will be your own Merchant ID.)
- Report Type: The category of transactions included in the report – for example, whether it contains all Accepted transactions, Pending transactions, etc., based on the filter you chose.
- Payment Method: Which payment method the report is filtered by (e.g., PayPal, JPay, Stripe, or ALL for all methods).
- Range: The date range of transactions covered by that report (the start date and end date you selected when generating the report).
Report Filters
To create a new transaction report, you need to specify the criteria using the filters at the top of the Reports page. Fill in all the filter fields as needed – once all options are selected, the Create Report button will become enabled. Below are the filter options and how to use them:
Report Type
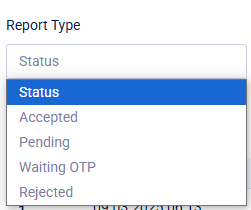
Use this dropdown to select the transaction status you want to report on. Options include Accepted, Pending, Waiting OTP, and Rejected. For example, choosing Accepted will generate a report of all your accepted transactions. If you leave it at the default value (labeled “Status”), it will include transactions of all statuses (no status filter).
Payment Method
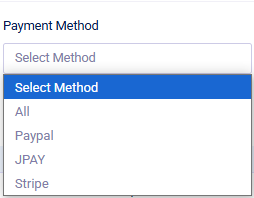
This dropdown lets you filter transactions by payment method. The choices are All, PayPal, JPay, or Stripe. Selecting a specific method (like PayPal) will include only transactions made via that method in the report. Selecting All will include transactions from all payment methods.
Date Range
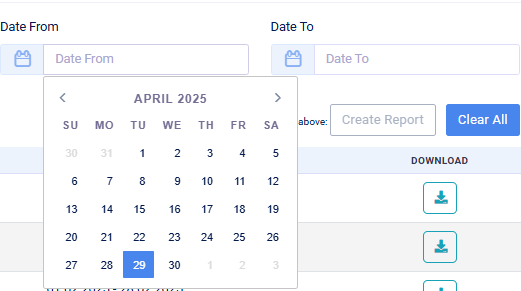
Use the Date From and Date To fields to define the time period for the transactions you want in the report. Click on the Date From field to pick a start date from the calendar, and click on Date To to pick an end date. The report will include transactions from the start date up to and including the end date. (Tip: for large volumes of data, choose a shorter date range – see Tips below for more info on date range best practices.)
Merchant Filter

The Merchant filter is a dropdown menu in the Reports section used to select which merchant account’s data you want to see in a report. This filter only appears if your user account has access to more than one merchant account. If you have only a single account, this filter will not be shown. Each option in the dropdown is labeled with the merchant’s ID and the associated email address (for example, “2024129230 – dev@cashields.org”), so you can easily identify the correct account.
To use this filter, click on the Select Merchant dropdown field at the top of the Reports page and choose the merchant ID for the account you want to generate a report for. The dropdown will expand to show all merchant accounts available to you – simply click the one that matches the account whose transactions you need. Once selected, proceed to generate the report as usual (for example, by clicking the Create Report button). It’s important to pick the correct merchant before running the report so that the results include only that account’s transactions. Selecting the right merchant ensures your report is focused on one account at a time, giving you an accurate view of that account’s activity without mixing data from other accounts.
Report Format
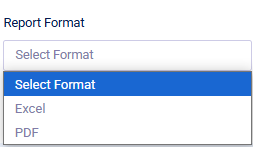
Choose the format in which you want to download the report. The options are Excel (download as an .xlsx spreadsheet file) or PDF (download as a .pdf document). If you plan to further analyze or edit the data, Excel is a good choice; if you just need to view or share a read-only report, PDF is convenient.
Note: If your account has access to multiple merchant IDs (for example, if you manage or oversee more than one merchant account), you will also see a Merchant dropdown filter. Make sure to select the appropriate Merchant ID for which you want to generate the report. If you only have one merchant account, this field may be fixed to your own ID or not shown at all, since all reports will automatically use your single merchant ID.
After selecting Report Type, Payment Method, Date From/To, and Report Format (and Merchant, if applicable), you’re ready to create the report. Ensure all filter fields are filled in – the system will require this (the Create Report button stays disabled until everything is selected).
Tips and Best Practices
- Use Specific Date Ranges for Large Data: For a large number of transactions, it’s best to select a narrower date range (for example, one month at a time) rather than an extremely long period. In fact, TTR Pay allows generating reports for up to 30 days of data at once. If you need data for more than 30 days, break it into multiple reports (e.g., one report per month). This ensures the report generates quickly and the file is easier to handle. It also helps avoid timeouts or very large files.
- Choose the Right Format (Excel vs. PDF): Select Excel format if you plan to edit the report or perform additional analysis on the data. Excel files allow you to sort, filter, and run calculations on your transaction list. Choose PDF format if you just need a ready-to-view report for simple reviewing or sharing with others who do not need to edit the data. PDFs are good for printing or emailing as a fixed report. (You can always generate one of each format if needed, using the same filters and just changing the format before clicking Create Report.)
By following this guide, you should be able to confidently use the Reports section in TTR Pay to get the information you need. The interface is designed to be straightforward – just select your report criteria, create the report, and download it at your convenience.
Leave a Reply